Inventory Data
Reports > Inventory > Inventory Data
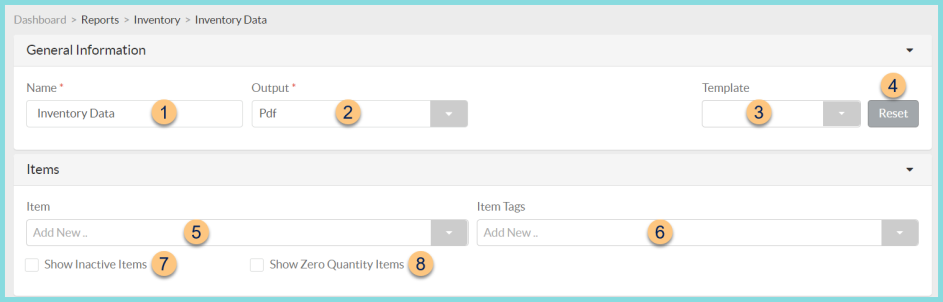
The Inventory Data Report presents detailed information on inventory items.
-
Name - enter a report name
Default: Inventory Data -
Output - select output format
Csv, Excel, Html, Json, or Pdf (default) -
Template - select a report template
-
Reset - click to reset to default options
-
Item - filter by item(s)
-
Item Tags - filter by item tag(s)
-
Show Inactive Items - check to include inactivated items in results
-
Show Zero Quantity Items - check to include items with a total quantity of zero
-
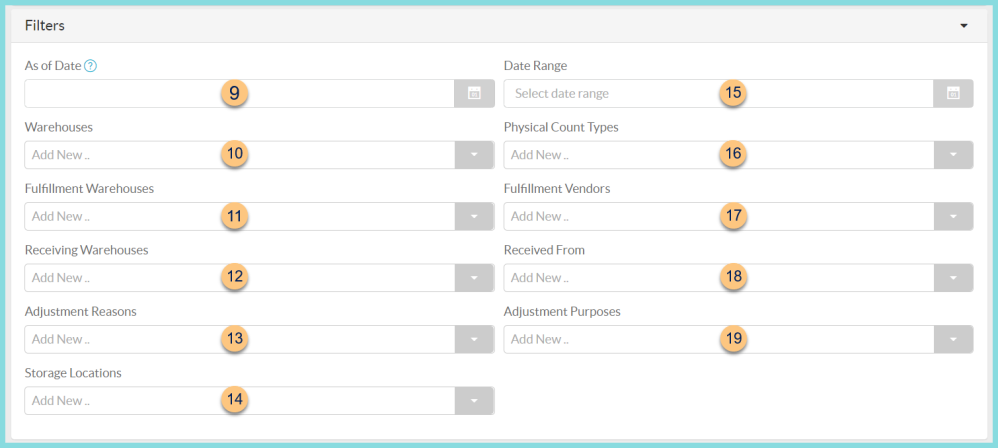
As of Date - select a date to generate inventory data as of that date
Note: If blank, the current date is used. -
Warehouses - filter by warehouse(s)
-
Fulfillment Warehouses - filter by fulfillment warehouse(s)
-
Receiving Warehouses - filter by receiving warehouse(s)
-
Adjustment Reasons - filter by adjustment reason(s)
-
Storage Locations - filter by storage location(s)
-
Date Range - select a date range to include changes in inventory over the selected date range
-
Physical Count Types - filter by physical count type(s)
-
Fulfillment Vendors - filter by fulfillment vendor(s)
-
Received From - filter by fulfillment warehouse(s) and/or fulfillment vendor(s)
-
Adjustment Purposes - filter by adjustment purpose(s)

-
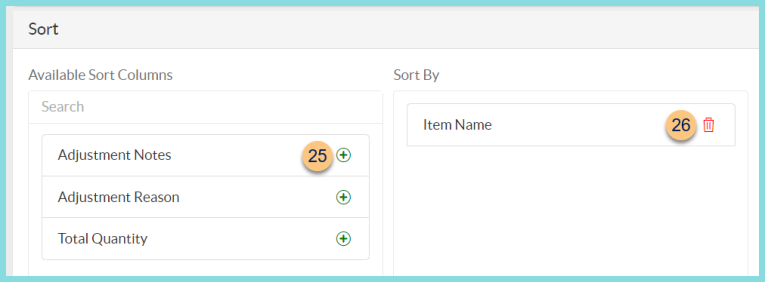
Search - search for available columns
Note: Columns are defined below -
(+) - click or drag and drop to move available sort columns to the Selected Columns field
-
Drag and Drop to rearrange Selected Columns or click the Trash Can to remove a column from the selected columns field
-
Group By - choose one of the available column types to insert pages breaks at changes in value of the selected field
-
Include Total Row - check to include a total row at the bottom of the report
-
(+) - click or drag and drop to move available sort columns to the Sort By field
Note: Columns selected in step 21 are available for sorting. -
Drag and Drop to arrange Sort By columns in order of sort priority or click the Trash Can to remove a field
-
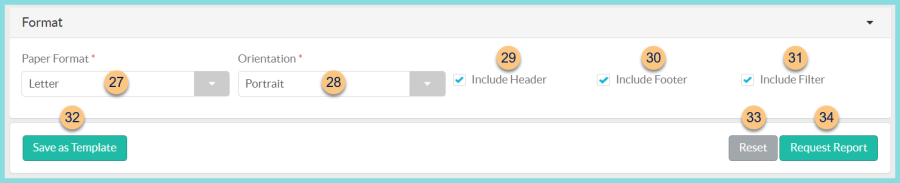
Paper Format - choose a paper format
CR80
Legal
Letter (default) -
Orientation - choose orientation
Landscape
Portrait (default) -
Include Header - check to display report header on PDF or header row on CSV
-
Include Footer - check to display report footer on PDF
-
Include Filter - check to display selected filters on PDF
-
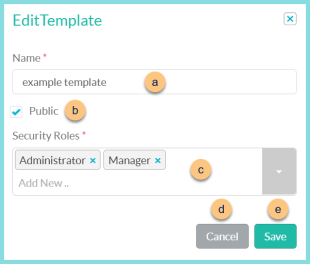
Save as Template - click to save the selected filters and columns as a template
-
Name - enter a template name
-
Public - check to make the template available to other users
-
Security Roles - select the security roles that can access a Public template
-
Cancel - click to return to the previous screen without saving the template
-
Save - click to save the template
-
Reset - click to reset to defaults
-
Request Report - click to request report
Note: Report will appear in the bell icon when complete
Column Definitions
| Column | Definition |
|---|---|
| Adjustment Notes | Item Adjustment Notes |
| Adjustment Reason | Item Adjustment Reason |
| Asset Account | Item Asset Account |
| Barcode | Barcode based on the Item Barcode Value |
| Barcode Value | Item Barcode Value |
| Base Unit of Measure | Item Base Unit of Measure |
| Credit Amount | |
| Credit Chart of Account | |
| Current Date | Date report is generated |
| Date | Date of action |
| Debit Amount | |
| Debit Chart of Account | |
| District Identifier | District Identifier |
| District Name | District Name |
| Expense Account | Item Expense Account |
| Fulfillment Warehouse | Fulfillment Warehouse |
| Identifier | Item Identifier |
| Is Discontinued | HTML, PDF: Checkmark if the
Discontinued box is checked, blank if unchecked
CSV, EXCEL, JSON: True if Discontinued box is checked, false if unchecked |
| Item Description | Item Description |
| Item Fulfillment Identifier | Fulfillment Identifier |
| Item Fulfillment Reference Number | Fulfillment Reference Number |
| Item Name | Item Name |
| Item Receipt Identifier | Receipt Identifier |
| Item Receipt Reference Number | Receipt Reference Number |
| Item Tags | Item Tags |
| Local Total Value | Cost x Quantity of items marked as Local on a vendor Item Receipt |
| Manufacturer | Item Manufacturer |
| Manufacturer Item Number | Item Manufacturer Number |
| Physical Count Identifier | Physical Count Identifier |
| Primary Vendor Name | Primary Vendor Name |
| Production Date | Production record date |
| Production Serving Session | Production Serving Session |
| Quantity | Quantity of selected data type written as: X Preferred Unit of Measure & Y Base Unit of Measure |
| Receiving Warehouse | Receipt Warehouse |
| Storage Location | Storage Location |
| Storage Sub-Locations | Storage Sub-Locations |
| Total Base Unit of Measure Quantity | Total Base Unit of Measure Quantity |
| Total Cost | Total Cost of selected data |
| Total Quantity | Total Quantity of selected data |
| Total USDA Value | Total USDA Value of selected data |
| Total Value | Total Value of selected data |
| Type | Inventory Function: Adjustment, Central Kitchen Production Record, Item Fulfillment, Item Receipt, Physical Count, Site Production Record |
| Unique Identifier | The Unique Identifier is found at the end of the item's URL |
| USDA Food | HTML, PDF: Checkmark if the
USDA Food box is checked, blank if unchecked
CSV, EXCEL, JSON: True if USDA Food box is checked, false if unchecked |
| USDA Value | USDA Value of selected item |
| Value | Base Unit of Measure value as calculated by the primary vendor'scost. |
| Vendor Account Number | Vendor Account Number |
| Warehouse | Warehouse |
| Warehouse Identifier | Warehouse Identifier |